IPアドレスの拒否と許可
IP拒否リストとIP許可リストを使用して、 組織内のIPアドレスを管理します。
注記
Any implemented restrictions do not apply to support users who access the system through impersonation.
開始する前に
CIDR(Classless Inter Domain Routing)表記を使用して、サブネットマスクを指定します。
手順
ユーザメニューから、ポリシーの管理 > IP管理を選択します。
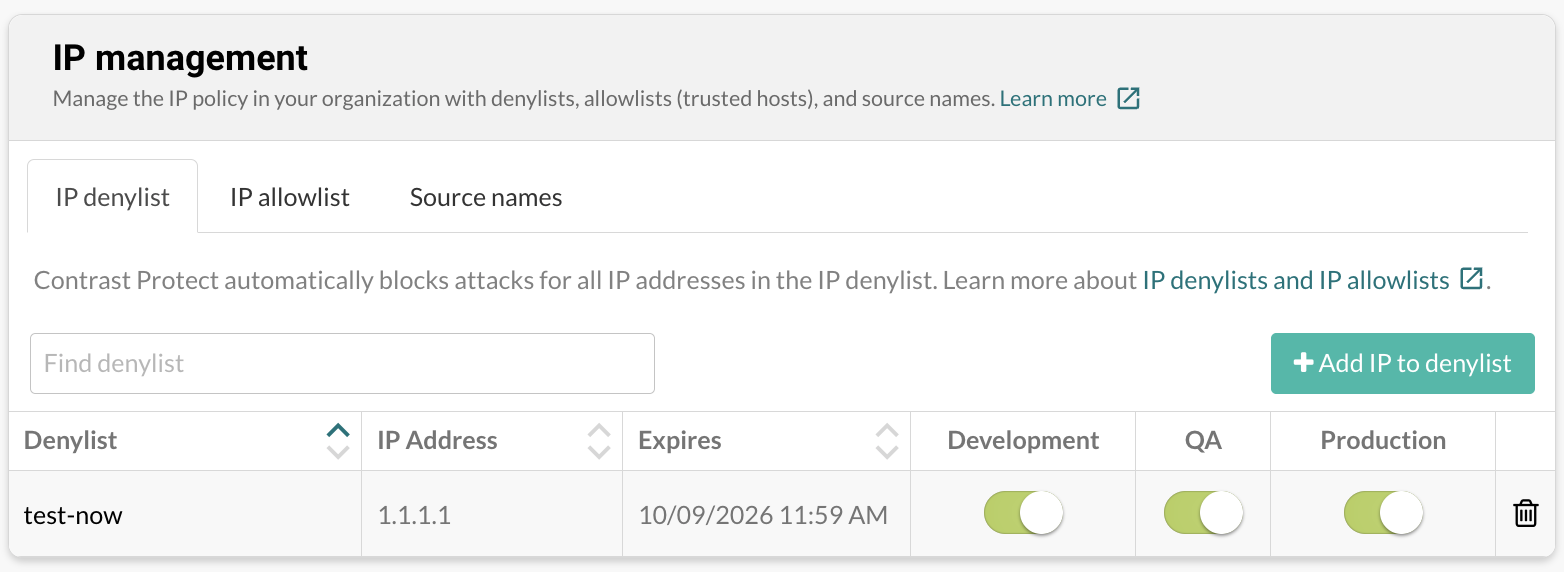
拒否リストの管理:
IP拒否リストタブを選択します。
既存の拒否リストを編集する場合は、拒否リスト名を選択して情報を変更したら、保存を選択します。
拒否リストにIPアドレスを新規に登録する場合は、拒否リストにIPを登録を選択して情報を入力したら、追加を選択します。
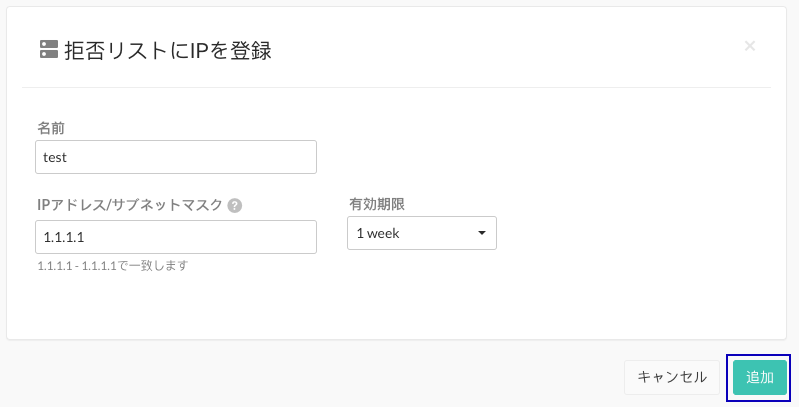
Each denylist or allowlist entry applies to all environments (Development, QA, Production) by default. Once you save an entry, you can control which environments it applies to. Turn off the rule for specific environments by clearing the option where the rule should not apply.
許可リストの管理:
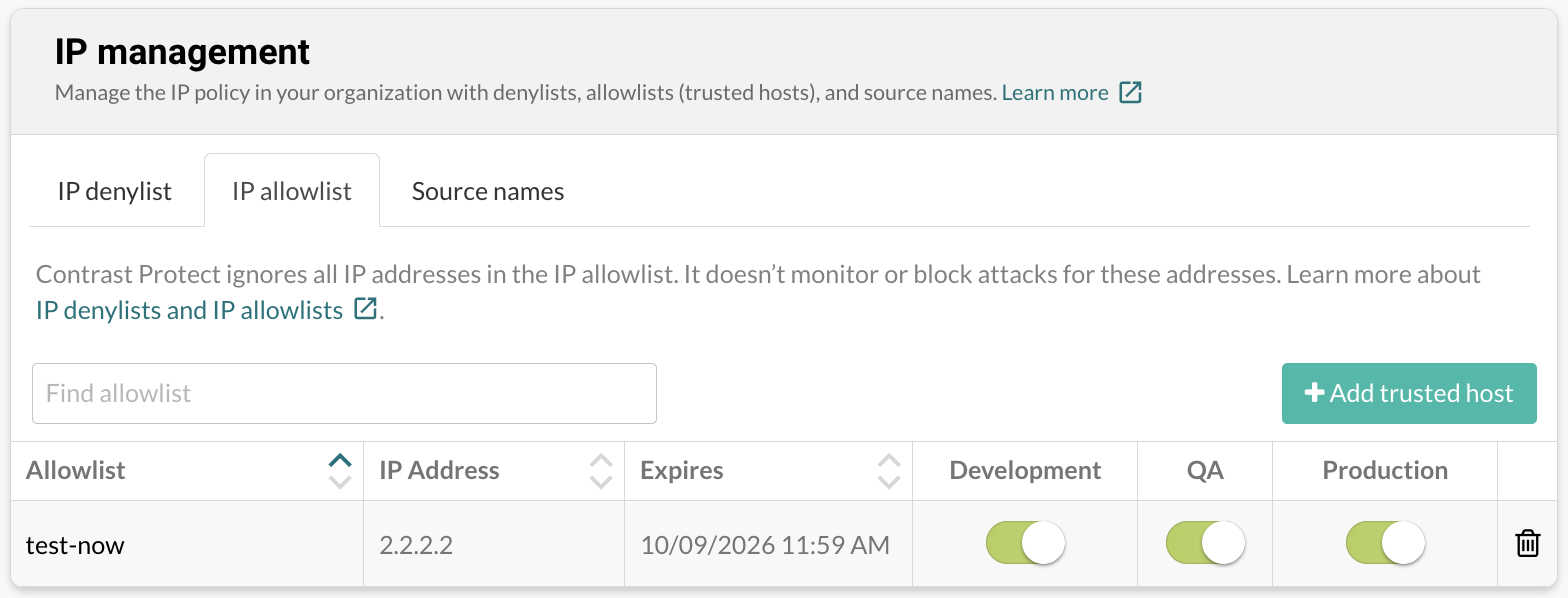
IP許可リストタブを選択します。
既存の許可リストを編集する場合は、許可リスト名を選択して情報を変更したら、保存を選択します。
許可リストに信頼できるホストを新規に登録する場合は、信頼できるホストを登録を選択して情報を入力したら、追加を選択します。
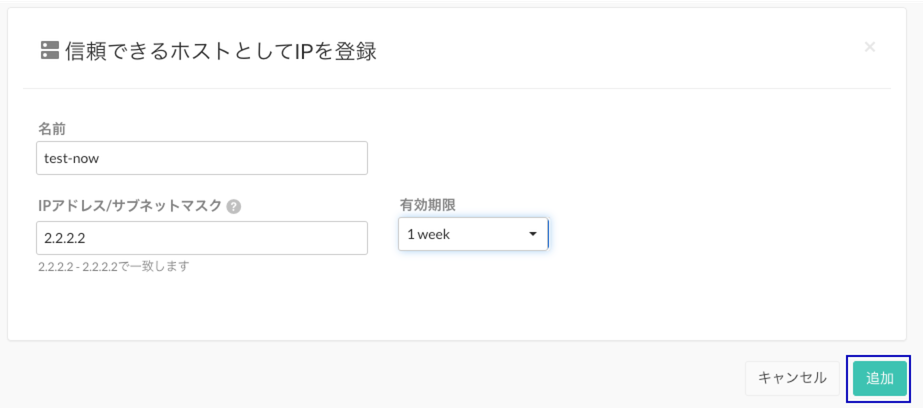
Each denylist or allowlist entry applies to all environments (Development, QA, Production) by default. Once you save an entry, you can control which environments it applies to. Turn off the rule for specific environments by clearing the option where the rule should not apply.